

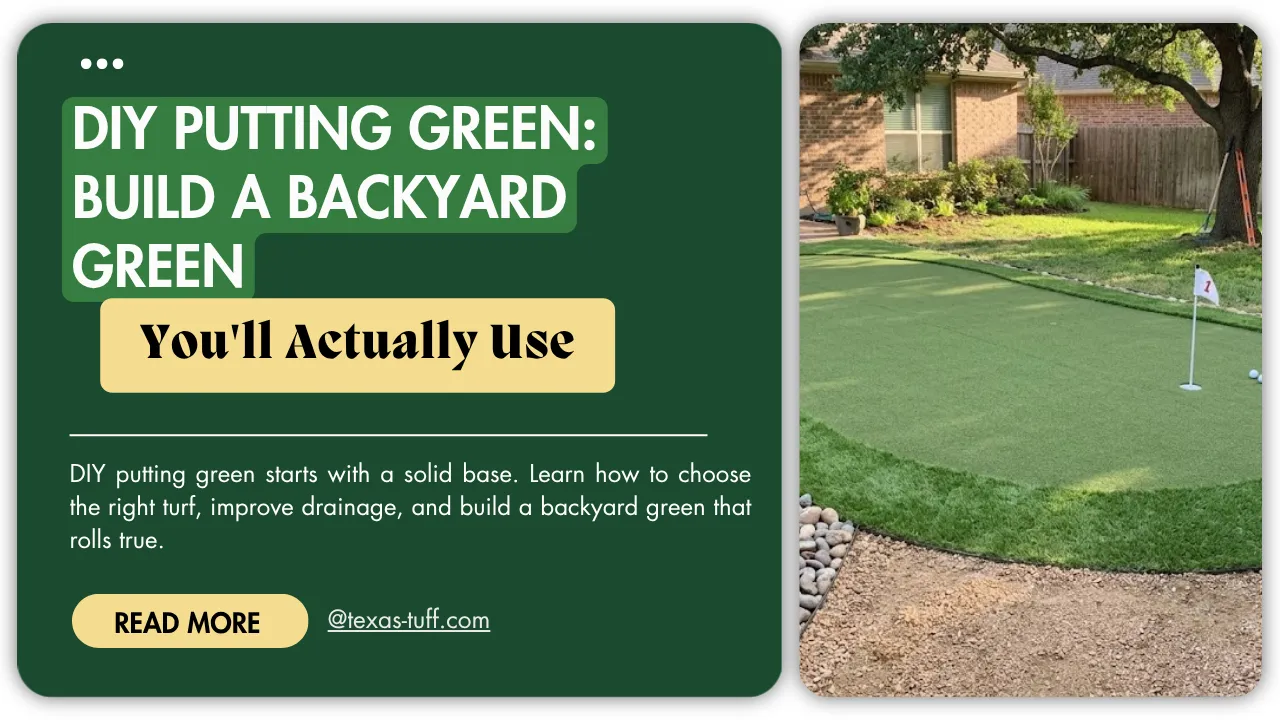
The first thing that catches your eye is usually the turf. It’s neat, green, and looks ready to play. What you don’t see is the part that decides whether those putts will still roll true a year from now. We’ve watched a DIY putting green survive blazing summers and heavy rain with barely a change, while others started developing soft spots after a single season. The difference was almost never the turf itself. It was the work underneath.
That’s no surprise. The United States Golf Association (USGA) has long treated drainage and base preparation as the foundation of a quality putting surface. An artificial putting green at home follows the same rules, even if it’s built on a much smaller scale.
DIY Putting Green: Plan Before You Dig
Every yard is different, so there’s no universal layout that works for everyone.
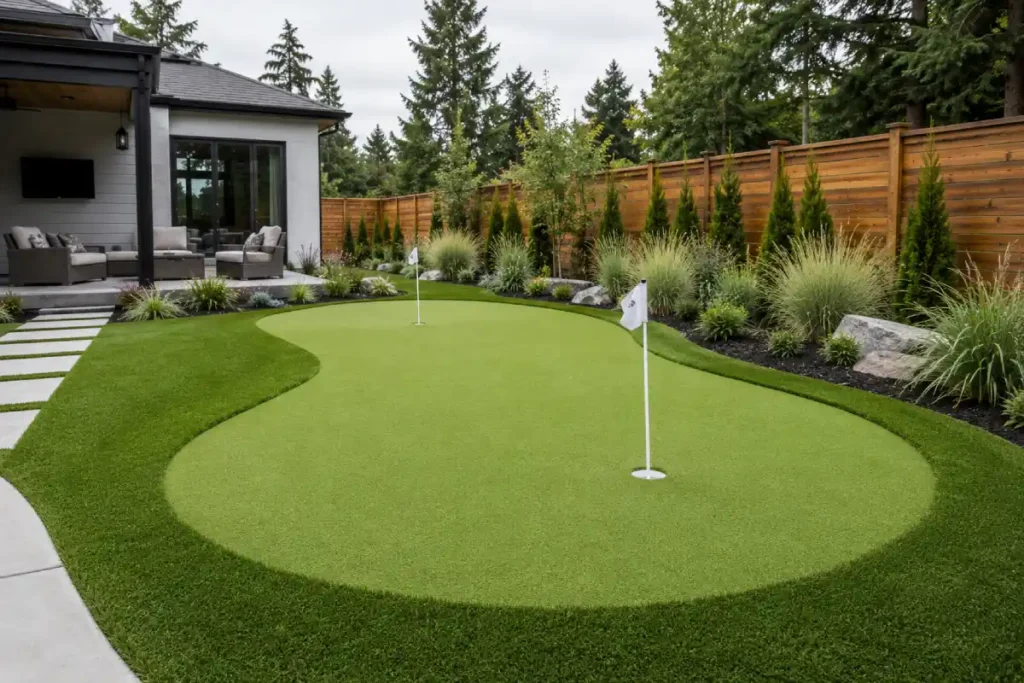
Before ordering materials, spend a little time thinking about how you’ll actually use the space. A putting green in backyard projects usually looks very different depending on whether it’s built for quick practice sessions or for entertaining friends on the weekend.
Ask yourself a few practical questions.
- Where does rainwater naturally drain?
- Will you practice putting only, or chip onto the green as well?
- Is there enough room to move equipment during installation?
- Will nearby trees create leaves or shade throughout the year?
Those answers influence the project far more than the shape of the green itself.
Besides, one of the most common mistakes isn’t choosing the wrong turf. It’s choosing the wrong location.
Bigger Doesn’t Always Mean Better
There’s a tendency to think more square footage automatically creates a better practice area. It usually doesn’t.
A well-designed backyard putting green that fits naturally into the yard often gets used far more than an oversized installation that dominates the space. Most golfers spend their practice time inside fifteen feet anyway, so thoughtful design matters much more than overall size.
| Planning Decision | Why It Matters |
|---|---|
| Choose well-drained ground | Helps prevent settling and standing water |
| Build for how you’ll practice | Creates a layout you’ll use more often |
| Leave room around the green | Makes putting from different angles easier |
| Plan multiple cup locations | Adds variety without increasing maintenance |
The Foundation Matters More Than the Turf
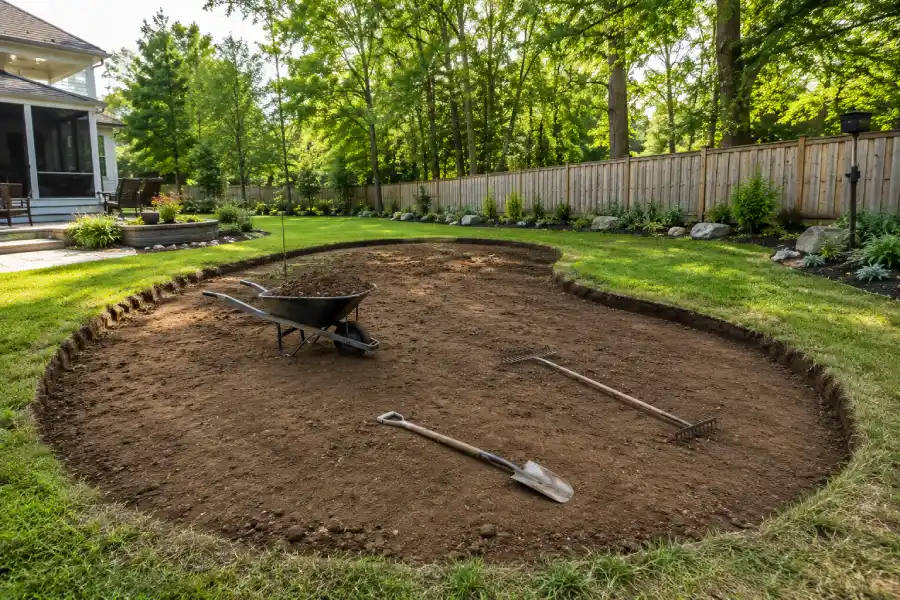
Search for how to build a putting green, and you’ll notice that many guides jump straight to installing artificial grass. That’s actually one of the last steps. The real work happens underneath.
Every layer of base material should be spread evenly, compacted thoroughly, and checked for level before the next layer goes down.
According to the USGA Green Section, proper grading and drainage are essential to maintaining a consistent putting surface. Residential projects don’t need tournament specifications, but they do benefit from following the same principles.
We’ve found that homeowners who slow down during this stage are usually much happier with the finished result.
Choosing the Right Turf
Appearance catches your eye first. Performance keeps you happy.
Quality DIY putting green turf is built to produce consistent ball roll while standing up to years of foot traffic and changing weather. Fiber density, pile height, and construction all influence how the surface plays, so choosing turf based on performance rather than color alone is usually the better long-term decision.
Planning Checklist for Your Backyard Putting Green
- Check drainage after rainfall
- Mark underground utilities
- Sketch the layout and cup locations
- Measure carefully and allow for trimming
- Select putting-specific turf instead of standard landscape grass
DIY Putting Green Installation: Laying the Turf Without Rushing
We always tell homeowners this is the fun part. The base is done, the site actually looks like a putting green now, and it’s tempting to grab the utility knife and go. Don’t, yet.
Unroll the turf first and let it sit for a bit before you cut anything. It ships rolled tight, so it needs a few minutes to relax and lay flat, or your cuts end up off.
Using more than one piece? Check the grain direction on each roll. Same way, every time. Skip that step, and you’ll feel it underfoot on every single putt.
Pro Tip: Before you pin the edges down, roll a few balls across the surface. Any drift usually means there’s still a low spot worth fixing now, while it’s easy.
Cup Placement Is Worth Thinking About
Many first-time builders install one cup right in the middle of the green. There’s nothing wrong with that.
Still, we usually recommend planning for at least two or three cup locations if space allows. Different hole positions create new putting angles and make practice sessions feel less repetitive without changing the layout.
The cups should sit perfectly flush with the turf. Even a small height difference can affect short putts, which defeats the purpose of building a realistic practice surface.
Mistakes That Are Easier to Avoid Than Fix
Every project teaches something. After helping homeowners choose artificial turf, we’ve noticed the same issues appear again and again, and most of them have nothing to do with the turf itself.
Common mistakes include:
- Rushing the base because the visible part of the project feels more important
- Building a backyard putting green in an area where water naturally collects
- Choosing landscape grass instead of putting-specific turf
- Skipping a final ball roll test before securing the surface
- Making the green larger than the available space comfortably allows
None of these mistakes ruin a project immediately. They simply become harder and more expensive to correct later.
Keeping Your Green Looking and Playing Its Best
One advantage of a do-it-yourself backyard putting green is that maintenance is refreshingly simple. There’s no mowing schedule to follow and no seasonal fertilizer program to manage. That said, no outdoor surface stays perfect without a little attention.
| Maintenance Task | How Often | Why It Helps |
|---|---|---|
| Remove leaves and debris | As needed | Keeps ball roll consistent |
| Brush the turf fibers | Every few months | Maintains a natural appearance |
| Rinse away dust and pollen | Occasionally | Helps the surface stay clean |
| Check seams and edges | Twice a year | Catches small issues early |
The USGA notes that even a synthetic putting green benefits from periodic maintenance, since debris and drainage affect long-term performance. Fortunately, the routine is straightforward and takes far less time than caring for natural grass.
Final Thought: Is DIY the Right Choice?
Is a DIY green worth it? Depends on your yard.
Bad drainage or a steep slope changes the math. Get advice before you start, or you’ll end up redoing work later. A level yard is a different story: grab a weekend, and there’s nothing stopping you from building your own putting green, or a backyard golf green, that plays beautifully for years.
Nobody’s trying to recreate Augusta National. Just build a space you’ll actually use. Ready to start? Good materials make the difference. Look at our putting green turf, see how installation works, and pick a surface built for real ball roll, whatever your homemade putting green ends up looking like.
Frequently Asked Questions
Do I need a perfectly flat yard?
Not at all. A gentle slope can actually make your practice sessions more interesting. The important part is controlling where water goes. If your yard has poor drainage, you’ll likely need additional preparation before installing.
What’s the best base for a putting green?
A compacted aggregate base is the most common choice because it provides stability while allowing water to drain. The exact materials can vary depending on local soil conditions, but the goal is always the same.
How do you make a putting green in your yard?
Start with layout and drainage, not turf. Grade the area so water moves away from the green, build a compacted base in even layers, then install putting-specific turf once the base checks out level.