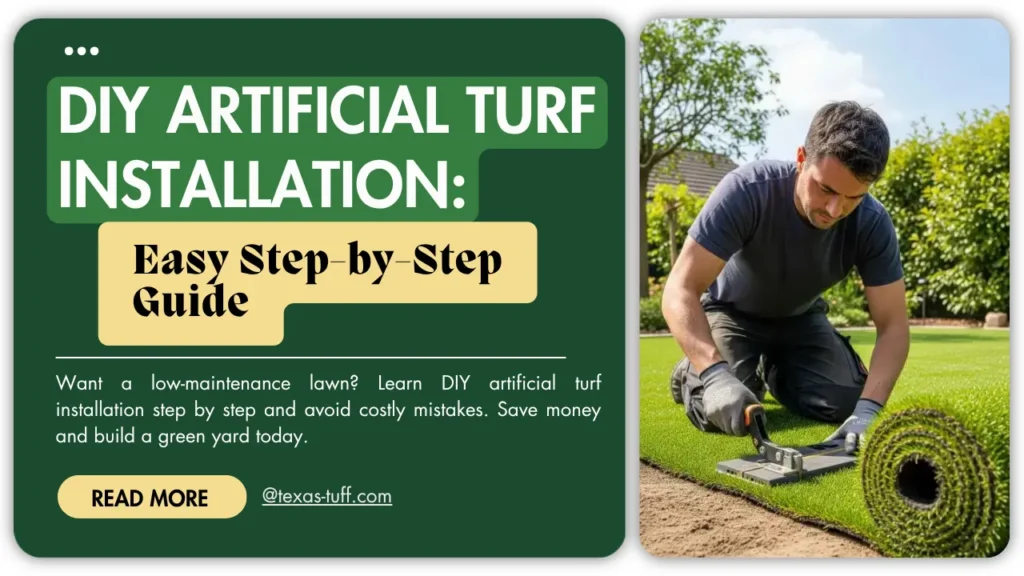
More homeowners across Dallas-Fort Worth choose artificial turf every year. They want a lawn that looks great year-round, handles the Texas heat, and does not eat up every weekend with mowing and watering. A DIY artificial turf installation can deliver all of that, and cut thousands off the total cost.
But it only works out if you do it right. Poor prep leads to bumpy surfaces, pooling water, and turf that starts lifting at the edges inside a year. This guide gives you the real process: what to buy, what to do, and what mistakes to skip.
Is DIY Installation Right for You?
DIY turf installation suits most flat to gently sloped residential yards. You do not need to be a contractor. You do need patience, a full weekend (or two), and the right tools. A space under 500 sq ft is a solid starting point for a first project.
Larger spaces over 1,000 sq ft become more difficult to manage on your own. Rolls of turf are heavy and hard to position without a second pair of hands. Seams become more frequent, and errors are harder to hide. Think carefully before taking on a large yard solo.
Good fit for DIY: Small-to-medium flat yards, pet areas, balconies, and play areas. If your yard has slopes over 20%, significant tree roots, or complex curves, a professional install is the safer call.
Tools and Materials You Need
Before you start a DIY install of artificial turf, gather everything below. Missing even one item mid-project causes delays and errors.
| Category | Item | Purpose | Approx. Cost |
| Surface Prep | Sod cutter or spade | Remove existing grass | Rental ~$50/day |
| Plate compactor | Pack down the base | Rental ~$80/day | |
| Landscape rake | Level the surface | $20–$35 | |
| Weed barrier fabric | Block weed growth | $0.10–$0.20/sq ft | |
| Base Material | Crushed aggregate (Class II Base) | Drainage + stability | $0.50–$1.00/sq ft |
| Decomposed granite (optional) | Smooth finish base | $0.40–$0.70/sq ft | |
| Turf & Fixing | Artificial turf rolls | The surface itself | $1.50–$5.00/sq ft |
| Galvanized nails or staples (6″) | Secure turf at edges | $15–$25 | |
| Landscape edging / bender board | Define perimeter | $0.50–$1.50/lin ft | |
| Seaming tape + adhesive | Join turf sections | $40–$80 | |
| Finishing | Silica sand or rubber infill | Add weight and support blades | $0.50–$1.00/sq ft |
| Power broom or stiff brush | Stand up the fibers | Rental ~$40/day or $30 | |
| Utility knife + straight edge | Cut turf to fit | $15–$20 |
Tip: Always order 10–15% more turf than your measured area. You need extra for cuts, curves, and waste. Running out mid-project and needing a second roll from a different batch can cause visible color differences.
What a DIY Artificial Turf Installation Actually Costs
Costs vary by turf grade, yard size, and how much rental equipment you need. Below is a realistic estimate for a 300 sq ft yard in the DFW area.
| Item | Est. Cost (300 sq ft) |
| Artificial turf (mid-grade, $2.50/sq ft) | $750 |
| Crushed aggregate base | $180 |
| Weed barrier fabric | $45 |
| Silica sand infill | $150 |
| Seaming tape + adhesive | $60 |
| Edging / nails / staples | $55 |
| Equipment rental (2 days) | $180 |
| Estimated Total | ~$1,420 |
Professional installation for the same 300 sq ft space typically runs $2,500–$4,500. DIY saves real money. The trade-off is time, and plan for 1–2 full days of physical work.
Step-by-Step DIY Artificial Turf Installation
Follow these steps in order. Each stage builds on the last. Skipping or rushing step 2 (base preparation) is the single most common reason DIY installs fail.
1. Mark and measure your area
Use stakes and string to mark the exact boundary. Measure length and width. Sketch it out on paper, including any curves or irregular shapes. This measurement drives every purchase you make.
2. Remove existing grass and soil
Use a sod cutter to strip the top 3 to 4 inches of turf and soil. Remove all organic material. Organic matter breaks down over time and causes your base to sink and shift. Dispose of the removed sod properly.
3. Install edging around the perimeter
Bender board or landscape edging defines the edge of your project. Nail it to the ground along your marked boundary. This holds the base and the turf in place and gives you a clean, finished edge.
4. Lay weed barrier fabric
Roll out weed control fabric across the cleared area. Overlap sheets by at least 6 inches. Pin it down with landscape staples. This stops weeds from pushing up through your base and into the turf later.
5. Add and compact the aggregate base
Pour in 3 to 4 inches of crushed aggregate (Class II road base works well). Rake it level across the entire area. Then run the plate compactor over the whole surface twice. A compact, level base is the most critical step in the entire process.
6. Check for drainage slope
Your base needs a gentle slope of about 1 to 2 percent so water drains away from structures. Lay a long level on the surface and check drainage direction. Adjust the base before moving on. Poor drainage leads to waterlogging and turf damage.
7. Roll out and cut the turf
Lay your turf rolls across the area and let them relax for 30 to 60 minutes before cutting. This releases tension and makes the turf lie flat. Cut with a sharp utility knife on the backing side. Always cut with the grain running in the same direction for a uniform look.
8. Join seams
Place turf sections edge to edge without overlapping. Fold back both edges, lay seaming tape flat on the base, apply adhesive, then press the turf edges together firmly. Hold for 5 minutes. Seams done wrong are visible in strong light, so take your time here.
9. Secure the edges
Nail the perimeter of the turf to the ground every 6 to 8 inches using 6-inch galvanized nails or landscape staples. Drive them through the turf backing, not the blades. Tuck edges neatly against the bender board for a clean finish.
10. Apply infill and brush the blades
Spread silica sand or rubber infill evenly across the turf using a drop spreader. Apply in layers at a rate of 1 to 2 pounds per square foot. Then use a power broom or stiff brush to work the infill between the blades and stand the fibers upright. Your lawn will look noticeably better after this step.

Common DIY Artificial Turf Installation Mistakes to Avoid
Most problems with a DIY install come down to a handful of recurring errors. Here are the ones that come up most often.
- Skipping base compaction. Loose aggregate settles unevenly. You end up with dips and bumps that show through the turf surface.
- Choosing the wrong turf grade for the application. A lightweight lawn product installed in a heavy-use dog area will flatten and wear out fast.
- Not matching grain direction across seams. Turf has a direction. Lay sections with the grain running the same way. If you do not, seams will be obvious.
- Leaving organic matter in the base. Roots, grass, and soil decompose. This causes the base to shift and the turf to sink in patches.
- Under-nailing at the edges. Edges that lift are one of the most common complaints. Nail every 6 inches minimum along all perimeter edges.
- Not planning for drainage. Water has to go somewhere. If you install on a flat area with no slope and no drainage layer, you will have standing water after rain.
- Buying cheap seaming adhesive. Seam tape and adhesive are not the place to cut costs. A poor bond fails in heat or rain, and fixing it later is hard work.
- Skipping the infill stage. Infill adds ballast and keeps the blades upright. Without it, turf looks flat and fake and moves underfoot.

Avoiding these common mistakes helps ensure a smoother install and a longer-lasting, better-looking turf surface.
When to Stop and Call a Professional
DIY artificial turf installation makes sense for many projects. But some situations call for professional help.
Hire a professional when:
- Your yard has significant slopes or drainage problems. Grading work requires experience and often additional drainage infrastructure. Getting it wrong creates water damage to your home’s foundation.
- You need more than 1,000 sq ft covered. Large areas mean many seams. Each seam is a potential failure point. Professional installers have the tools and experience to make seams invisible.
- You want a 15-year result, not a 3-year result. Professional-grade installation with quality materials lasts two to three times longer than most DIY installs. The labor cost pays for itself over time in product life.
- Your yard has complex shapes, built-in features, or obstacles. Curves around trees, raised planters, drainage grates, and curved borders all require precision cutting and fitting that is much harder without experience.
At Texas Tuff, we offer free estimates for residential projects across the DFW area. If you are unsure whether DIY or professional installation is the right call, we can walk you through both options with no pressure. Contact us here.
Frequently Asked Questions About DIY Artificial Turf Installation
How long does a DIY artificial turf installation take?
For a 300 to 500 sq ft area, plan for one to two full days. Base prep takes the most time. If you work in two shifts, prep on day one and turf on day two, the quality is better, and the work is less tiring.
Can I install artificial turf over concrete?
Yes. Concrete is an acceptable base if it drains properly. Use a shock pad underlay for comfort. Make sure the concrete has no standing water issues before you lay the turf.
How do I install artificial turf DIY on a slope?
Slopes under 20 percent are manageable. Use additional nails or staples every 4 to 6 inches along the uphill edge. Apply seam tape on the downhill seams. For steep slopes, professional installation is safer and more durable.
What is the best infill for DIY artificial turf installation?
Silica sand is the most common and cost-effective option. For pet areas, zeolite infill helps control odor. Rubber crumb infill adds extra cushioning for play areas. Many installers use a mix of silica sand and rubber for the best result.
How do I keep weeds from growing through my DIY artificial turf?
A quality weed barrier fabric under the base layer is your main defense. Overlap sheets by at least 6 inches. Seal all edges tight to the bender board. No system is 100 percent foolproof, and some weeds may grow at the perimeter, but a good barrier layer handles the vast majority of weed growth.
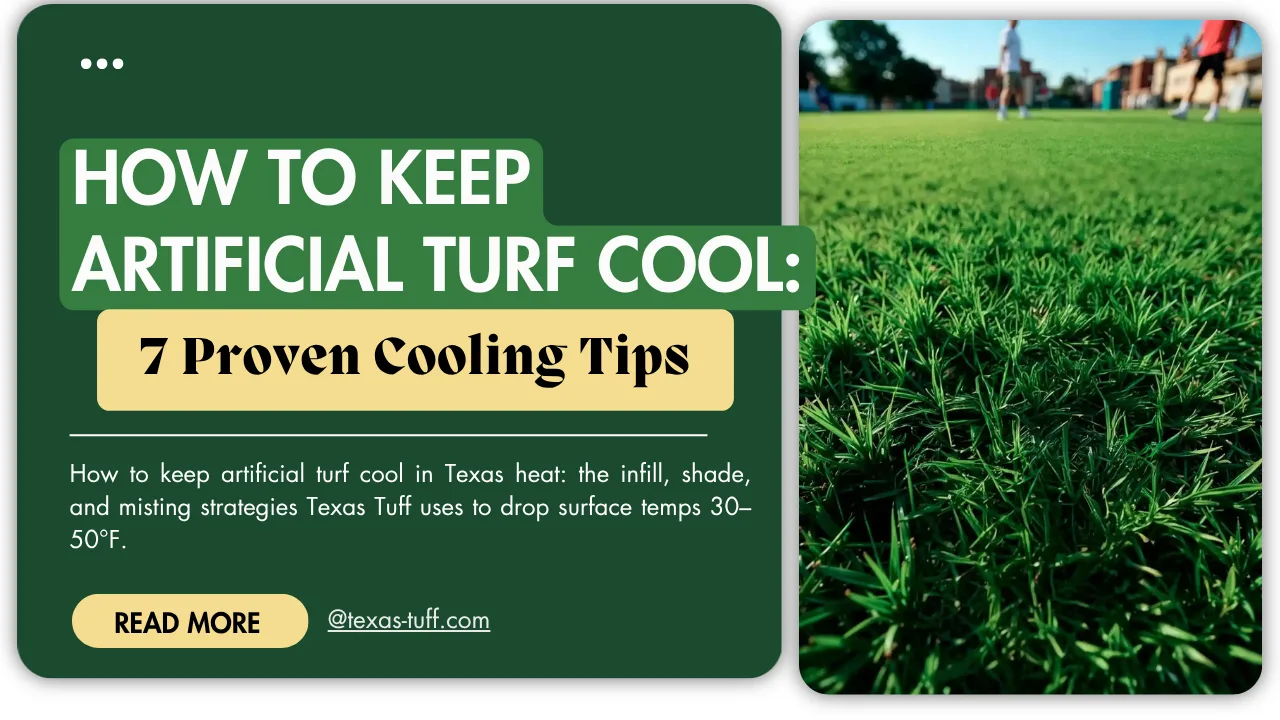
Does artificial turf get too hot in Dallas summers?
It can. In full direct sun, turf surface temperatures can reach 140 to 160°F on a 100°F day. Choose UV-stabilized turf with a blade design that deflects heat. A quick rinse with a hose drops the surface temperature significantly within minutes.
How long does artificial turf last after a DIY install?
A well-done DIY install using quality turf lasts 10 to 15 years. The biggest variables are base quality, product grade, and how much foot traffic the area gets. Higher grade turf with a proper base lasts longer. Cheap turf on a poor base may start showing wear within 3 to 5 years.
Final Thoughts
A DIY artificial turf installation is a rewarding project. When done right, you end up with a lawn that looks great, needs almost no maintenance, and holds up through the Texas heat for years. The key steps that make or break the result are base preparation, drainage, seam quality, and the right product for your use case.
Take your time on each stage. Do not rush the base compaction. Match grain direction across seams. Nail the edges well. Apply infill properly. Follow those steps and your finished result will rival a professional install for a fraction of the cost.
If the project scope grows beyond what you want to tackle solo, Texas Tuff is available. We serve the entire Dallas Fort Worth metro with professional artificial turf installation, free estimates, and a 15-year product warranty on every job.